Harvest & Storage
Canning for Beginners: Safely Preserving Your Harvest
Learn how to can vegetables and high-acid foods safely. Covers water bath canning vs. pressure canning, equipment, and food-safety rules every beginner needs.
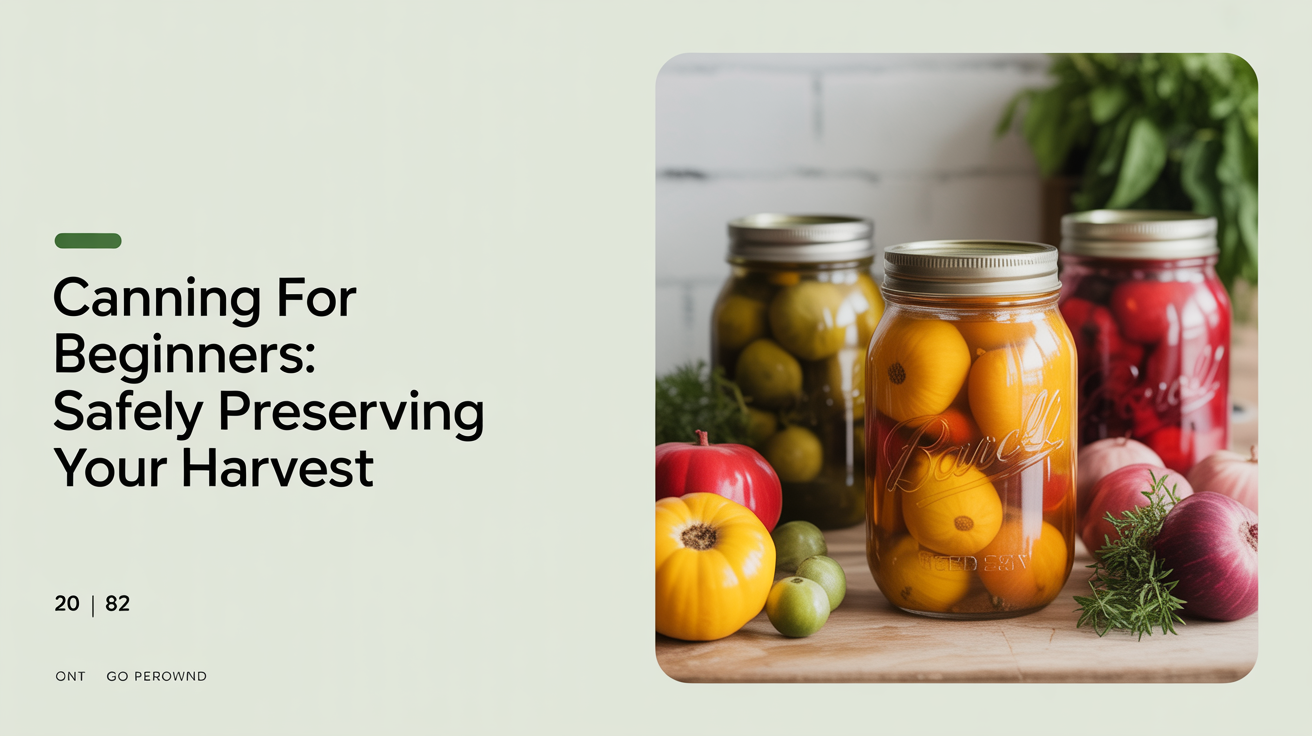
Canning turns a pile of garden produce into shelf-stable jars you can eat all winter. Done correctly, it is safe and straightforward. Done carelessly, it can cause serious illness, so the rules below are not optional.
Why Canning Works (and Where the Risk Comes From)
Heat drives out air, kills spoilage organisms, and creates a vacuum seal as the jar cools. As long as that seal holds and the heat treatment was sufficient, the food inside stays safe at room temperature for a year or more.
The risk is Clostridium botulinum, the bacterium that produces botulism toxin. It thrives in low-oxygen, low-acid environments, which describes the inside of a sealed jar perfectly. Boiling water (212°F / 100°C) does not kill botulism spores. Only a pressure canner can reach the 240°F (116°C) needed to destroy them.
This is why canning methods split cleanly into two categories:
- Water bath canning works for high-acid foods (pH 4.6 or below). The acid inhibits botulism growth enough that boiling-water processing is safe. High-acid foods include pickles (cucumbers or other vegetables brined with vinegar), jams, jellies, and properly acidified tomatoes.
- Pressure canning is required for low-acid foods: plain vegetables (green beans, corn, carrots, beets), meats, and anything with mixed ingredients that brings the pH above 4.6.
If you try to water-bath-can low-acid vegetables such as plain green beans or corn, the jars may seal and look fine but still harbor botulism toxin. That is not a risk worth taking.
Equipment You Actually Need
You do not need much to get started, but a few items are non-negotiable.
For water bath canning:
- Large stockpot with a rack (or a dedicated water bath canner). The pot must be deep enough to cover jars by at least one inch of water.
- Mason jars in good condition (no chips or cracks on the rim).
- New lids every time. Bands can be reused if they are not rusty or dented.
- Jar lifter, wide-mouth funnel, and a bubble remover or thin spatula.
- Clean cloths for wiping jar rims.
For pressure canning (low-acid vegetables):
- A dedicated pressure canner rated for home use, with a working gauge or weighted regulator. This is different from a pressure cooker. Most pressure cookers are too small and not tested for canning safety.
- All the same jars and small tools listed above.
Both types of equipment are widely available at hardware stores and online. A basic water bath setup can cost under $30 if you already own a large pot. A pressure canner runs $80 to $200 depending on size and brand.
Water Bath Canning: The Basic Process
Before you start, harvest your vegetables at peak ripeness. Canning cannot improve quality; it preserves the quality you start with. Wash everything thoroughly, since you are sealing garden soil organisms into an anaerobic environment.
Here is the general sequence for water bath canning:
- Prepare jars. Wash them in hot soapy water or run through a dishwasher. Keep them hot until you fill them (cold jars can crack when they hit hot food). Simmer lids in hot (not boiling) water.
- Make your recipe. Use a tested recipe from the USDA Complete Guide to Home Canning, the National Center for Home Food Preservation (NCHFP), or the Ball Blue Book. These sources specify the exact acid ratios and processing times that have been tested for safety. Do not adjust the recipe ratios.
- Fill jars. Leave the headspace specified in your recipe (usually 1/4 inch for jams, 1/2 inch for most other items). Remove air bubbles with a thin spatula. Wipe the rim clean with a damp cloth.
- Apply lids. Finger-tight only. Too tight prevents air from escaping during processing.
- Process in boiling water. Lower jars into the canner, make sure they are covered by at least one inch of water, and bring to a full rolling boil before you start timing. Follow the processing time from your tested recipe exactly, adjusting for altitude if you live above 1,000 feet.
- Remove and cool. Lift jars out without tilting. Place them on a towel with an inch or two of space between them. Do not move them for 12 to 24 hours.
- Check seals. Press the center of each lid. If it flexes up and down, the jar did not seal. Refrigerate and use within a few days, or reprocess within 24 hours with a fresh lid.
For tomatoes specifically, note that modern tomato varieties are often lower in acid than older ones. Tested recipes require you to add bottled lemon juice or citric acid to every jar. Do not skip this step. You can learn more about picking ripe fruit before canning in this guide on how to tell when tomatoes are ripe and how to pick them.
Pressure Canning: Low-Acid Vegetables
Plain vegetables from the garden, such as green beans, carrots, corn, and beets, must be pressure-canned. The process is similar to water bath canning but uses a pressure canner instead of an open pot.
Key differences:
- You add only 2 to 3 inches of hot water to the canner (not enough to submerge jars).
- You vent steam for 10 minutes before putting on the weight or closing the petcock.
- You bring the canner to the correct pressure specified in your recipe, then start timing.
- You let the pressure drop naturally before opening. Never force-cool a pressure canner.
Processing times for low-acid vegetables are longer than water bath times. Green beans, for example, require 20 to 25 minutes at 10 PSI for pints (at sea level). Always follow the times in a tested source. Altitude adjustments for pressure canning differ from water bath adjustments, so check the specific tables in your reference guide.
How to Know a Jar Is Safe to Open
A proper seal is not a guarantee of safety on its own, but a compromised seal is always a warning sign. Before opening any canned jar, check for:
- Bulging or loose lids
- Spurting liquid when opened
- Off odors or unusual color
- Visible mold
If you notice any of these, do not taste the food to decide. Throw it away without tasting. Botulism toxin has no reliable smell or taste, and a tiny amount can cause serious illness.
The phrase in home canning is simple: when in doubt, throw it out.
Store sealed jars in a cool, dark place (below 70°F is ideal) for up to one year for best quality. After a year the food may still be safe but quality often declines.
A Quick Reference: High-Acid vs. Low-Acid Foods
| Food | Acid Level | Safe Method |
|---|---|---|
| Pickled cucumbers (vinegar brine) | High | Water bath |
| Jams and jellies | High | Water bath |
| Tomatoes with added lemon juice | High | Water bath |
| Applesauce | High | Water bath |
| Green beans | Low | Pressure only |
| Corn | Low | Pressure only |
| Carrots | Low | Pressure only |
| Beets | Low | Pressure only |
| Soups and stews | Low | Pressure only |
| Plain tomatoes, no added acid | Borderline | Pressure only (to be safe) |
When you are not sure which category a food falls into, assume low-acid and use a pressure canner, or look it up in the NCHFP database before proceeding.
Storing What You Canned and What Comes Next
Once your jars are sealed and labeled (include the date and contents), move them to a dark shelf away from heat. A root cellar, basement, or cool pantry all work. Avoid storing them in direct light, which fades color and can degrade quality over time.
If you are new to storing produce in general, it helps to read up on how to store fresh vegetables so they last longer before committing everything to the canner. Some crops, such as winter squash and potatoes, store well without canning at all, and that simplicity is worth knowing upfront.
Canning does take practice. Your first batch of pickles may come out a bit soft, or a jar or two may not seal. That is normal. The goal is to build the habit of following tested recipes precisely, checking seals, and staying alert to warning signs. Once those habits are in place, the process becomes routine.
Frequently Asked Questions
Can I use any large pot for water bath canning? Yes, as long as it is deep enough to cover jars by at least one inch of water and has a rack or folded towel on the bottom to keep jars off direct heat. A dedicated water bath canner with a fitted rack makes the job easier, but it is not required.
Do I need to sterilize jars before canning? For water bath processing of 10 minutes or more, the processing step itself sterilizes the contents. Wash jars thoroughly in hot soapy water. For recipes with very short processing times (under 10 minutes), pre-sterilize by boiling empty jars for 10 minutes.
What happens if I skip adding lemon juice to tomatoes? Tomatoes vary widely in natural acidity depending on variety and growing conditions. Without added acid, a jar of tomatoes may not be acidic enough to be safe for water bath canning. Always follow the tested recipe and add bottled lemon juice or citric acid as directed.
Can I double the recipe to make more jars at once? You can double or triple most canning recipes for quantity, but do not reduce or increase the acid or salt ratios. Changing proportions can affect the pH and make a water-bath-safe recipe unsafe. The processing time also does not change based on batch size; it changes based on jar size.
How do I know if my pressure canner gauge is accurate? Dial gauges on pressure canners should be tested annually at your local Cooperative Extension office (they do this for free in many areas). Weighted regulators do not require testing. If your dial gauge is off by more than 2 PSI, replace it before canning.