Raised Beds & Soil
How to Build a Raised Garden Bed: A Step-by-Step Guide
Learn how to build a raised garden bed from scratch with this practical step-by-step guide covering lumber, dimensions, soil, and siting.
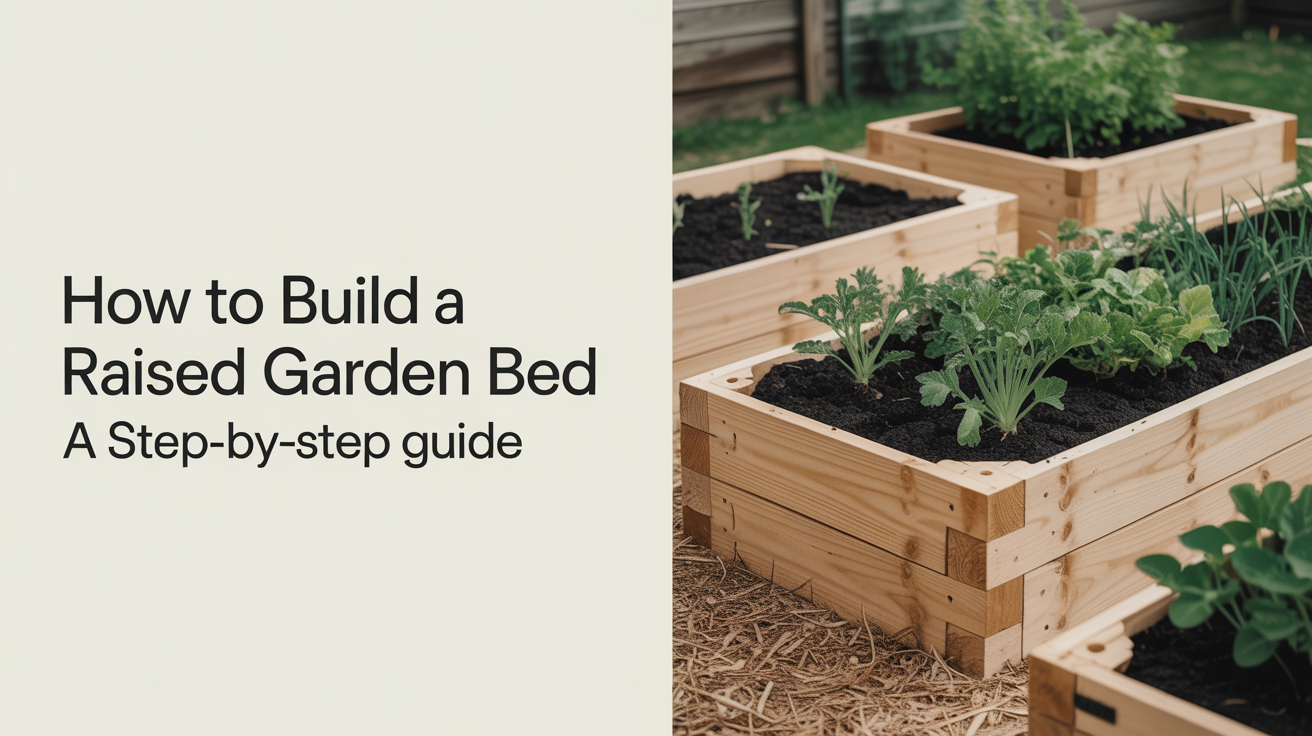
Building a raised garden bed is one of the most rewarding first projects a new gardener can take on. A single weekend, about $80–$150 in materials, and a flat patch of ground are all it takes to go from bare lawn to a productive growing space. This guide walks through every step, from choosing lumber to filling the bed, so you can get it done right the first time.
Why Build a Raised Bed
Standard in-ground soil is often compacted, poorly drained, or full of clay and rocks. A raised bed lets you sidestep all of that. You control exactly what goes in, so roots have loose, nutrient-rich soil from day one. Drainage is almost always better. Soil warms up earlier in spring, which extends your season by several weeks. Weeds are fewer because you start clean.
For beginners, there is another practical advantage: the confined space is manageable. A 4×8-foot bed is small enough to reach the center from either side without stepping in it, which keeps soil loose and aerated all season.
Choosing Your Lumber
The most common mistake when building a raised bed is grabbing whatever cheap pressure-treated boards are at the front of the lumber yard. Modern pressure-treated lumber (post-2004 in North America) uses copper-based preservatives rather than the older arsenic compounds, so it is generally considered safe for vegetable gardens, but many gardeners still prefer to avoid it near food crops, and that is a completely reasonable choice.
The best options for a DIY raised garden bed:
- Cedar, Naturally rot-resistant, lightweight, and pleasant to work with. Will last 10–20 years without any treatment. It costs more upfront but earns it back over time. Look for "rough-sawn" cedar if you want boards in the 2-inch thickness range; "select" cedar at big box stores runs a bit thinner.
- Untreated Douglas fir or pine, Less expensive and widely available. Expect 5–8 years before the boards start to degrade, depending on your climate. Fine for a first bed, especially if you just want to get started without a big investment.
- Redwood, Similar rot resistance to cedar. Often harder to source outside the western US, and pricier when you find it.
Boards to avoid: railroad ties (creosote), landscaping timbers with unknown preservatives, and any lumber marked "CCA" (the old arsenic-based treatment).
Materials and Dimensions
The classic 4×8-foot raised bed is popular for good reason. It fits two people working from opposite long sides, and the dimensions work neatly with standard lumber lengths. An 8-foot 2×6 board costs roughly $10–$15 at most lumber yards, and four of them (two per long side, stacked) give you a 12-inch-tall bed, deep enough for almost any vegetable.
Standard Raised Bed Dimensions
| Bed size (ft) | Board length needed | Height | Soil volume (cu ft) |
|---|---|---|---|
| 4 × 4 | 4-ft boards | 12 in (2 boards) | 13.3 |
| 4 × 8 | 8-ft boards (long side) + 4-ft (short) | 12 in (2 boards) | 26.7 |
| 4 × 8 | 8-ft boards (long side) + 4-ft (short) | 18 in (3 boards) | 40 |
| 3 × 6 | 6-ft boards (long) + 3-ft (short) | 12 in (2 boards) | 15 |
Most beginners do best with the 4×8×12-inch bed. It is big enough to grow a real mix of vegetables but small enough that filling it and maintaining it do not feel overwhelming.
Materials List for a 4×8 Raised Bed (12 inches tall)
- 4 boards, each 2×6 × 8 ft (long sides)
- 4 boards, each 2×6 × 4 ft (short ends, buy two 8-ft boards and cut in half, or buy pre-cut)
- 4 corner posts: 4×4 × 12-in pieces, or 2×4 × 12-in pairs screwed together
- 2-inch and 3-inch exterior screws (approximately 32 screws total)
- Hardware cloth (optional, for gopher protection): 4×8 ft piece of ½-inch mesh
Tools needed: drill/driver, tape measure, carpenter's square, level, shovel for site prep.
Step-by-Step Build
Step 1: Pick Your Site
Vegetables need sun, at least six hours of direct sunlight per day, and eight is better. Walk your yard at different times and observe where shade falls. Avoid spots directly under large trees; root competition and shade will both work against you.
Level ground matters more than most beginner guides admit. A raised bed on a significant slope will pull water (and soil) toward the downhill end. If your site tilts, dig out the high side rather than shimming up the low side. A few inches of slope across an 8-foot run is fine; more than that and you will have waterlogged corners.
Pick a spot with reasonable access to water. Dragging a hose 100 feet is annoying after a week.
Step 2: Mark and Prep the Ground
Lay out your bed dimensions with stakes and string, or just lay the boards on the ground to mark the footprint. Inside that footprint, remove the grass or weeds. You do not need to dig deep, a sharp spade worked around the perimeter and a flat spade or sod cutter across the surface is enough. Remove the top 2–3 inches of sod.
If you are placing the bed on a lawn and want to suppress any remaining grass without digging it all out, lay cardboard (boxes broken down flat, tape removed) inside the footprint before you set the frame. The cardboard smothers what is left and decomposes over the season, which lets earthworms move in from below.
Step 3: Build the Frame
Pre-drilling pilot holes prevents cedar from splitting and makes the whole job easier.
- Stand two long boards (8 ft) and two short boards (4 ft) on edge to form the rectangle.
- Hold a short end board flush against the end of a long board, making sure the corners are square. Use a carpenter's square to check.
- Drive two or three 3-inch screws through the long board into the end grain of the short board. Repeat for all four corners.
- Set the second layer of boards on top, offsetting the corner joints (so the joint on the top layer falls in the middle of the bottom layer's board, not directly above it). This staggered layout is stronger.
- Screw the second layer into the first at intervals along each side (two screws every 2 feet is plenty).
If you are using corner posts, cut 4×4 lumber into 12-inch (or longer, if you want to stake it into the ground) sections and screw each board layer into the post at the corner. This approach is slightly stronger and looks cleaner, but the lap-joint method above works fine for most beds.
Step 4: Level It
Carry the frame to your prepped site. Set it in place and check the top edge with a level on all four sides. Adjust by adding or scraping soil underneath the low corners. Take your time here, a level bed drains evenly and will not tip over or warp over time.
Once it is level, push the frame down into the soil slightly to seat it. If you built corner posts and left them long, drive them into the ground with a mallet for extra stability.
Step 5: Add a Bottom Layer (Optional but Useful)
Hardware cloth across the bottom blocks gophers and voles from tunneling in from below. Cut a piece of ½-inch mesh to fit inside the bed and staple or clip it to the lower boards. It is easiest to do this before you set the frame in its final spot.
A weed barrier fabric across the bottom is sometimes recommended but is generally less useful than the cardboard/sod-removal approach above, and can eventually restrict drainage. Skip it if you already removed the sod and laid cardboard.
Step 6: Fill With Soil
Do not fill a raised bed with straight topsoil or straight compost. Topsoil compacts badly. Pure compost is too light and nitrogen-heavy for many plants to root well in on its own.
A reliable beginner mix for most vegetables is roughly 60% topsoil, 30% compost, and 10% coarse perlite or aged bark. For a 4×8×12-inch bed (26.7 cubic feet), you need approximately 26–27 cubic feet of mix. Bagged soil is sold in cubic feet; bulk delivery is sold by the cubic yard (1 cubic yard = 27 cubic feet, so one yard fills this bed almost exactly).
See our guide on what to fill a raised garden bed with for a deeper look at soil ratios, amendments, and what to avoid. For depth recommendations and how they affect different crops, how deep should a raised garden bed be covers the specifics. And if you want to go further with soil quality, the best soil mix for a vegetable garden breaks down exactly what to buy and in what proportions.
Fill the bed to within about an inch of the top edge. The soil will settle several inches over the first few weeks of watering, so do not be alarmed when the level drops.
Finishing Details That Make a Difference
Watering. A raised bed dries out faster than in-ground soil because it has more surface area exposed to air and sun. Plan to water more frequently, especially during the first growing season when plants are small and roots are shallow. A soaker hose laid across the bed before planting makes this much easier.
Paths around the bed. Leaving at least 18 inches on all sides gives you room to kneel, set down a tray of seedlings, or maneuver a watering can. Mulch or gravel in the paths keeps mud off your knees.
Marking your variety placements. Before you plant, sketch a quick map of what is going where. Tall plants like tomatoes and pole beans go on the north end so they do not shade shorter neighbors.
Labeling. Seed packets look similar. Label everything as it goes in, not the day after.
Common Mistakes to Avoid
- Building too wide. Anything wider than 4 feet means you have to step into the bed to reach the center, which compacts the soil and defeats much of the purpose.
- Using green (unseasoned) lumber. It warps badly as it dries. Choose kiln-dried or air-dried boards.
- Skipping the leveling step. An unlevel bed loses water to one corner every time you irrigate, and the boards will rack and pull apart faster.
- Under-filling. Soil that sits 6 inches below the rim means roots hit the rim edge and stop, and water pools in the center. Fill close to the top.
Frequently Asked Questions
How long will untreated cedar raised beds last?
Cedar lasts 10–20 years in most climates. The main variable is moisture, beds in wet Pacific Northwest climates degrade faster than those in drier regions. Avoid letting boards stay wet by not burying the bottoms more than a couple of inches into the soil.
Do I need to treat or seal the wood?
No treatment is necessary for cedar or redwood. Applying raw linseed oil to the outside of pine or fir boards can slow weathering, but it is optional and will need reapplication every few years. Never use stains or sealants on the interior faces of boards that touch soil.
Can I put a raised bed directly on concrete or a patio?
Yes, with some adjustments. You need a deeper bed, at least 18 inches, to give roots enough room. Drainage holes in the concrete surface help, but a gravel layer inside the bed before the soil also assists drainage. Weight adds up fast: a 4×8×18-inch bed full of damp soil can weigh close to 2,000 pounds, so check that your surface can handle the load.
What is the best corner joinery for a beginner?
Simple butt joints with 3-inch exterior screws work fine and require no special tools. Corner posts (4×4 lumber cut to bed height) are slightly more durable and useful if the soil will freeze and thaw repeatedly, which creates pressure on the corners. Both methods will outlast the lumber itself if screwed properly.
How soon can I plant after building the bed?
Immediately, once it is filled and the soil has been watered in and allowed to settle for a day. You do not need to wait for soil to "cure" the way concrete does. If you are working mid-season and want to plant transplants the same afternoon you finish building, go ahead.