Growing Vegetables
How to Grow Peas: Sugar Snap, Snow, and Shelling Varieties for Beginners
Learn how to grow peas from seed to harvest. Covers sugar snap, snow, and shelling types, trellis setup, when to pick, and how to avoid the most common begin...
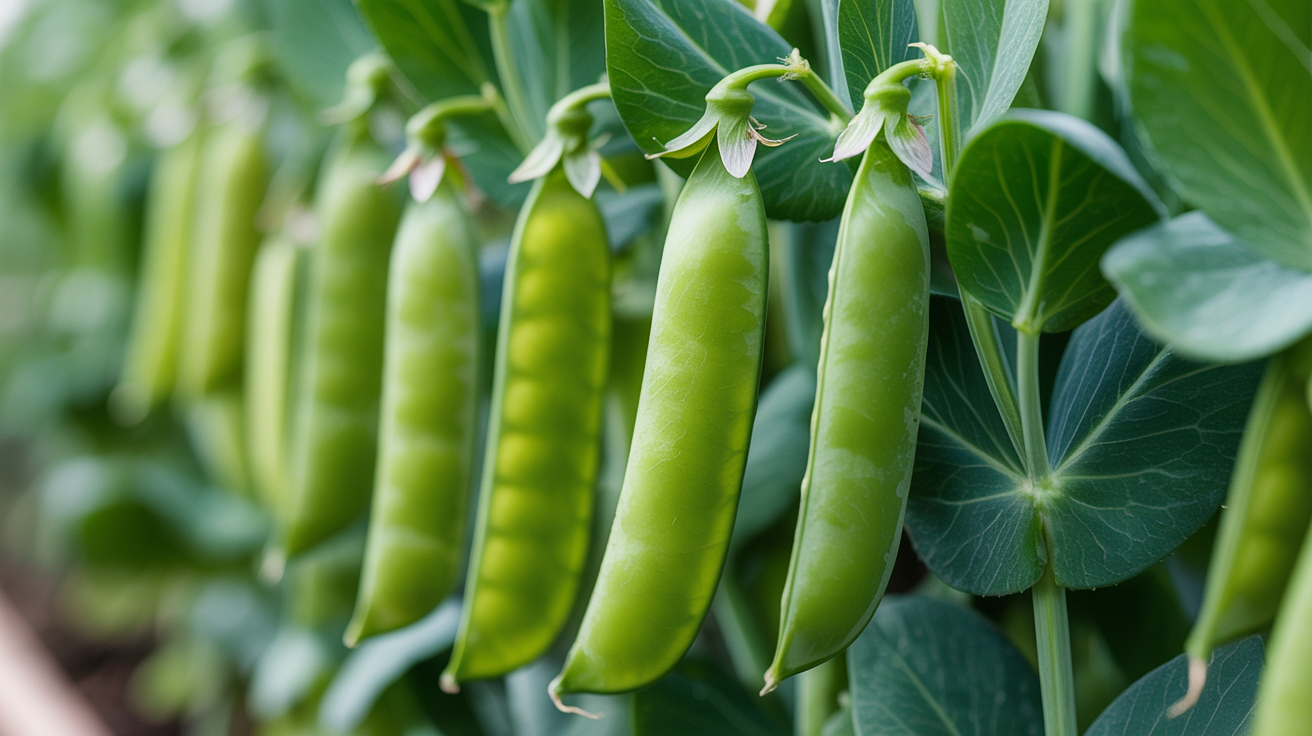
Peas are one of the first crops you can plant each spring, and they produce a surprising amount of food from a short row. The key is catching the right weather window before summer heat shuts them down.
The Three Types of Peas and What Sets Them Apart
Before you buy seeds, it helps to know which kind you are growing, because the harvest cue is different for each.
Sugar snap peas are the ones most beginners reach for first. You eat the whole pod, and it snaps crisply when ready. The seeds inside plump up as the pod fills out. These are the sweetest of the three and the most forgiving about exact harvest timing.
Snow peas (also called mangetout) are flat, thin-walled pods that you pick while the seeds inside are still tiny and barely visible. The pod is the whole point. Let them go too long and the pod gets tough and stringy.
Shelling peas (garden peas or English peas) have a thick pod that is not pleasant to eat. You shell them like a zipper bag and cook the round green seeds inside. Varieties like Alderman, Lincoln, and Green Arrow fall into this group. They take a bit more effort at harvest but are excellent for freezing.
All three types grow on similar vines, prefer cool temperatures, and handle light frost without complaint. The main differences are what part you eat and when you pick.
Why Peas Need Cool Weather
Peas are a cool-season crop. They germinate well in soil as cold as 40 to 45 degrees Fahrenheit and grow best when air temperatures stay between 55 and 70 degrees. Once daytime highs consistently reach 80 degrees, pea plants stop setting flowers and the season is over.
This is why timing is everything. In most regions, that means:
- Spring planting: Sow seeds 4 to 6 weeks before your last expected frost date, or as soon as the ground can be worked. Peas tolerate a light freeze once they sprout.
- Fall planting: Count back from your first fall frost date. Peas need 60 to 75 days to mature, so sow accordingly. Fall crops often produce sweeter pods because temperatures drop gradually instead of spiking.
The single biggest mistake beginners make is waiting too long in spring. If you hold off until the garden feels warm and settled, you have probably already missed the ideal window. Plant peas when the weather still feels uncomfortably early to you.
Peas are nearly always direct-sown rather than started indoors. The taproot does not transplant well, and seeds germinate quickly in cool soil anyway. Starting indoors only adds risk.
How to Sow and Space Peas
Prepare a bed in full sun (at least 6 hours per day) with loose, well-drained soil. Peas fix their own nitrogen, so they do not need a heavy fertilizer load at planting. A light dressing of compost worked in is enough.
Sow seeds directly into the ground following these guidelines:
| Pea Type | Sowing Depth | Seed Spacing | Row Spacing | Days to Harvest |
|---|---|---|---|---|
| Sugar snap | 1 inch | 2 to 3 inches | 18 to 24 inches | 60 to 70 days |
| Snow pea | 1 inch | 2 to 3 inches | 18 to 24 inches | 55 to 70 days |
| Shelling pea | 1 to 1.5 inches | 2 to 3 inches | 18 to 24 inches | 65 to 80 days |
Water the row after sowing and keep the soil moist but not waterlogged until sprouts appear, usually within 7 to 14 days depending on soil temperature. Colder soil takes longer.
To extend the harvest: Instead of sowing a single long row all at once, sow short rows every two weeks. By the time the first sowing is producing pods, the second planting is just hitting its stride. This approach works well in spring up until about 8 weeks before expected summer heat sets in.
Setting Up a Trellis or Support
Most pea varieties climb. Even the shorter bush types benefit from something to grab onto. Without support, vines flop onto the ground, pods rot, and picking becomes awkward.
The simplest approach for a beginner is a run of netting or wire mesh stretched between two stakes. A 4-foot height is adequate for most standard varieties. Taller climbing types like Alderman (shelling) or Sugar Snap (the original tall strain) can reach 5 to 6 feet and want a taller support.
Set up the trellis before you sow or immediately after, while you can still see the row clearly. Pea tendrils will find the mesh on their own within a few days of sprouting. If they stray, gently tuck them toward the support rather than forcing them.
For a raised bed, a bamboo A-frame or a few stakes with twine strung horizontally every 8 inches works fine and takes almost no time to build. The guide on staking and trellising vining crops walks through several DIY options with more detail.
Knowing When to Harvest Each Type
This is where the three types differ most in practice.
Sugar snap peas are ready when the pod has filled out and the seeds inside create visible bumps along the surface. The pod should snap cleanly when you bend it. If the pod looks bloated and the skin is slightly wrinkled, you are a few days past peak. Still edible, but less sweet.
Snow peas want to come off the vine while they are still flat, bright green, and the seeds inside barely show as shadows. The pod should feel tender, not papery. Check them every other day once they start forming, because they go from perfect to overripe faster than sugar snaps.
Shelling peas are ready when the pod has swelled to a rounded, even cylinder and feels firm when you press it. Split one open to check: the peas inside should be fully round and bright green but not starchy or wrinkled. Overripe shelling peas turn mealy and lose sweetness quickly.
A useful rule across all three: pick frequently. Regular harvesting signals the plant to keep producing. If you leave ripe pods on the vine for several days, the plant slows down. Get out every two or three days during peak production.
More detail on recognizing harvest readiness across all your crops is in the guide on when and how to harvest your vegetables.
Watering and Common Problems
Peas are relatively trouble-free, but a few things trip up beginners.
Watering: Consistent moisture matters most during flowering and pod fill. Dry spells during these stages cut yields noticeably. Aim for about an inch of water per week. Overhead watering in the evening can encourage powdery mildew, so morning watering at the base of the plant is better when possible.
Powdery mildew: A white, floury coating on the leaves usually appears late in the season as temperatures warm and the plant is finishing out. It does not typically ruin the harvest if you catch it near the end of the season, but it can cause early collapse if it hits young plants. Good air circulation from proper spacing helps prevent it. Some varieties are bred with resistance; check the seed packet.
Birds and mice: Both will dig up newly sown seeds or strip young seedlings. A short run of bird netting laid flat over the row for the first two weeks after sowing is an easy fix. Remove it once plants are a few inches tall.
Yellow leaves: Often a sign of waterlogged soil or compacted ground that is not draining well. Peas tolerate cool, moist conditions but not standing water. Raised beds drain faster and make this problem easier to avoid.
Frequently Asked Questions
Can I grow peas in a container or raised bed? Yes. A container at least 12 inches deep and wide works for bush varieties. A raised bed gives you more flexibility and better drainage. Either way, include a support structure since most pea varieties want something to climb.
Do peas need fertilizer? Peas fix atmospheric nitrogen through root nodules and generally do not need extra nitrogen. Too much nitrogen fertilizer actually pushes leafy growth at the expense of pods. A basic compost amendment at planting is usually all they need. If your soil is genuinely poor, a balanced starter fertilizer worked in before sowing is fine, but do not overdo it.
What happens if I plant too late and the heat arrives? The plants will stop flowering and producing pods once temperatures consistently top 80 degrees. At that point, let the remaining pods on the vine mature fully if you want to save seeds for next year. Otherwise, pull the plants and make room for a summer crop. Nothing you can do will extend the harvest once the heat settles in.
How do I save pea seeds for next year? Leave a few pods on your best plants until the pods turn yellow and dry out completely on the vine. Shell them out and let the seeds dry in a single layer on a paper plate or screen for another week or two indoors. Store in a labeled envelope in a cool, dry place. Most pea seeds stay viable for two to three years.
Should I soak pea seeds before planting? Soaking seeds in water for 4 to 6 hours before sowing can speed germination slightly, especially in cold soil. It is not required, but it can help if your soil temperature is below 50 degrees. Do not soak for more than 12 hours or the seeds may rot.