Raised Beds & Soil
Compost for Beginners: How to Start a Compost Pile
Learn how to start composting at home with this plain guide to greens, browns, pile size, moisture, turning, and knowing when your compost is ready.
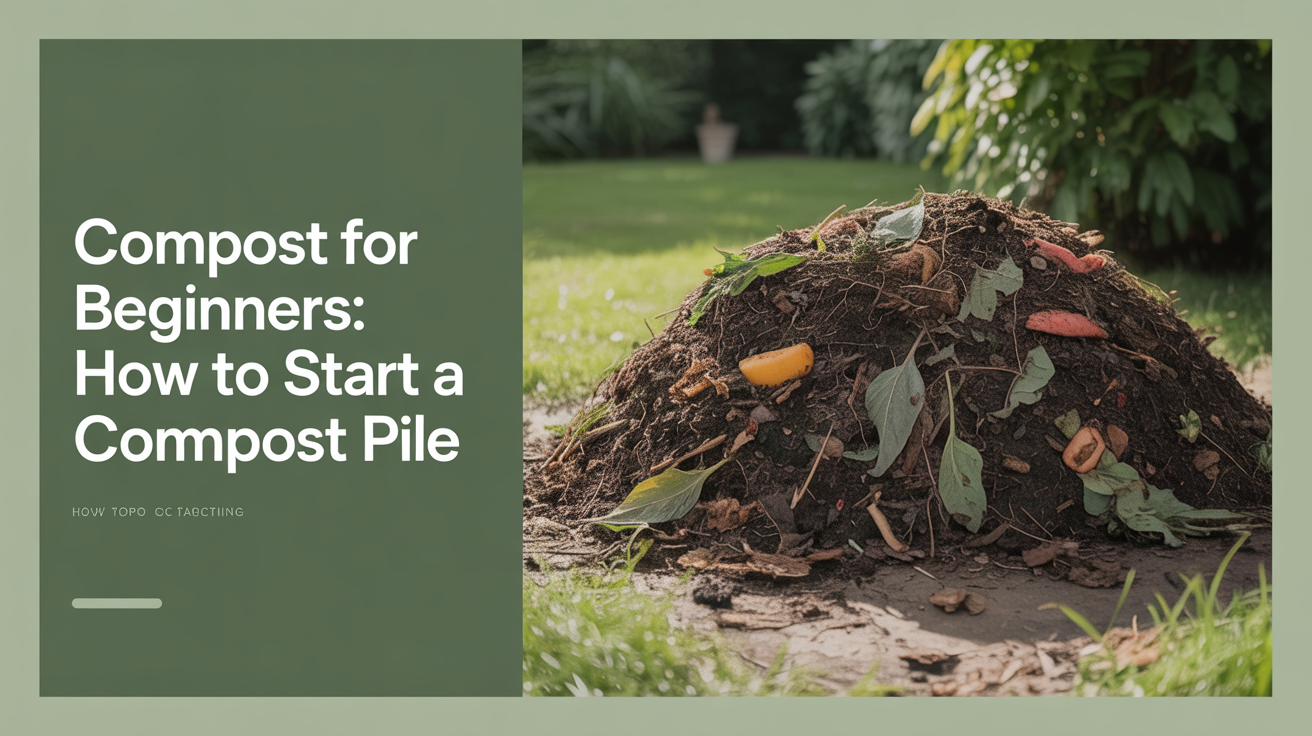
Starting a backyard compost pile is one of the most useful things you can do for a vegetable garden. You turn kitchen scraps and yard waste into free soil amendment, and your raised beds benefit every time you use it.
At a Glance
- Target ratio: 2 to 3 parts browns (carbon) to 1 part greens (nitrogen) by volume; the ideal carbon-to-nitrogen ratio by weight is close to 30 parts carbon to 1 part nitrogen.
- Minimum pile size for real internal heating: about 3x3x3 feet.
- Moisture target: a wrung-out sponge, damp but not dripping.
- Hot, actively turned piles finish in 6 to 12 weeks; cold, low-effort piles take 6 to 12 months.
- Keep meat, dairy, oils, pet waste, treated wood, and seeded weeds out entirely.
- Finished compost is dark, crumbly, and smells like forest floor, no individual scraps should still be recognizable.
What Composting Actually Is
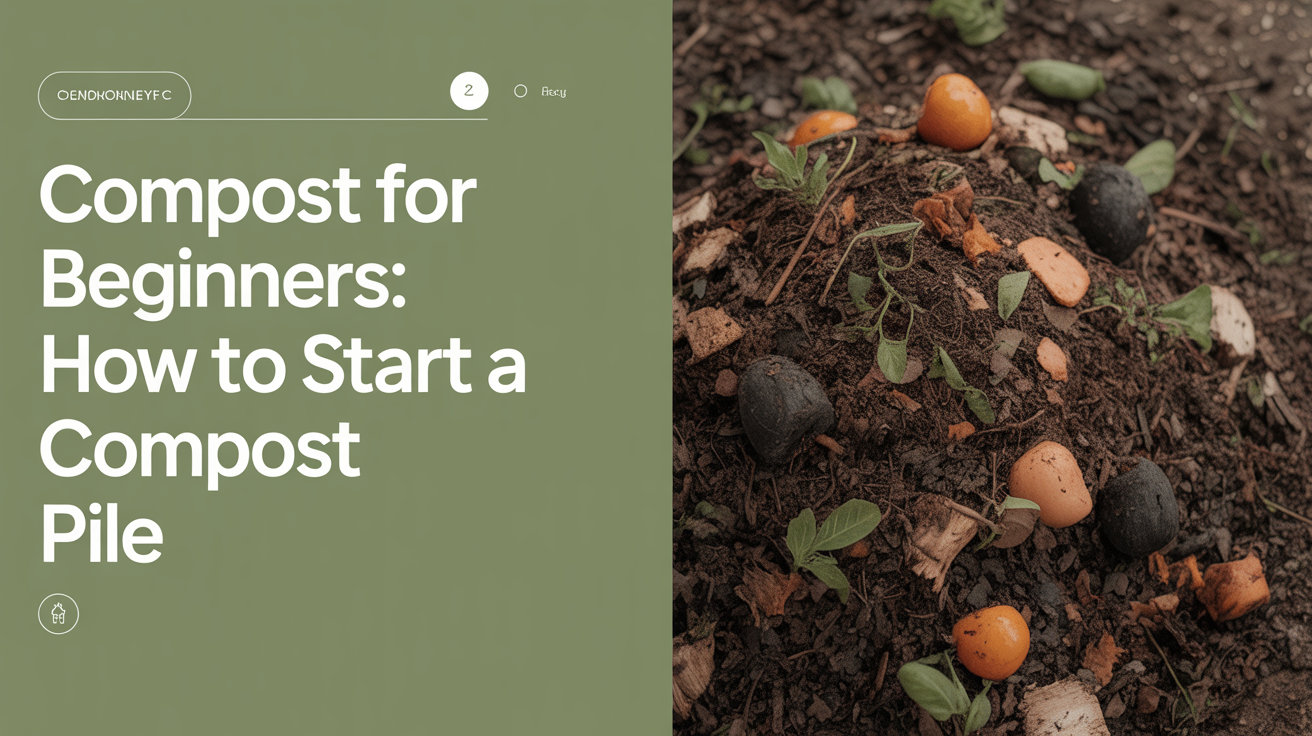
Composting is a managed decomposition process. You give microbes, fungi, and small invertebrates the right conditions, and they break organic matter down into a dark, crumbly material called finished compost. That finished product improves drainage in heavy clay soil, helps sandy soil hold moisture, and feeds plants slowly as it breaks down further.
The whole system runs on a balance between two types of material: greens and browns.
Greens are nitrogen-rich inputs. They tend to be wet and fresh. Think vegetable scraps, coffee grounds, fresh grass clippings, and plant trimmings.
Browns are carbon-rich inputs. They tend to be dry and fibrous. Think cardboard, dried leaves, straw, and wood chips.
The EPA's home composting guidance puts the target at two to three times the volume of browns to greens, and separately, Clemson Extension frames the same balance in weight terms: an ideal carbon-to-nitrogen ratio of about 30 to 1. Too many greens and the pile turns slimy and smells. Too many browns and decomposition slows to a crawl. In practice, most beginners pile up greens and then add browns to compensate, so keep a bag of dried leaves or a box of torn cardboard nearby.
What to Add and What to Leave Out
Compost-friendly materials
| Greens (nitrogen) | Browns (carbon) |
|---|---|
| Vegetable and fruit scraps | Dry fallen leaves |
| Coffee grounds and paper filters | Cardboard (torn into pieces, no glossy coating) |
| Tea bags (remove staples) | Straw |
| Fresh grass clippings | Wood chips or sawdust from untreated wood |
| Plant trimmings (disease-free) | Newspaper (black ink only) |
| Eggshells | Paper bags and paper towels |
| Annual weeds (before they set seed) | Corn stalks (chopped) |
Materials to keep out
A few things do not belong in a backyard compost pile:
- Meat, fish, and bones. They decompose slowly, attract rodents and flies, and create serious odors.
- Dairy products. Same problems as meat.
- Oils and fats. These coat materials and block air, which slows everything down and creates bad smells.
- Diseased plant material. Pathogens can survive if the pile does not reach high enough temperatures.
- Weeds that have gone to seed. Seeds often survive composting and sprout wherever you spread the finished product.
- Pet waste. Dog and cat feces can carry pathogens harmful to humans.
- Treated wood products. Pressure-treated lumber, painted wood, and plywood contain chemicals you do not want in a vegetable garden.
Pile Size and Setup
How big does a compost pile need to be?
A pile that is roughly 3 feet wide by 3 feet deep by 3 feet tall (about 1 cubic meter) is the practical minimum for generating enough internal heat to speed decomposition. Smaller piles still work, they just decompose more slowly and rely more on cooler, worm-driven processes.
You do not need a formal bin to start. A simple open pile in a corner of the yard works fine. If you want to keep things tidy or deter animals, a three-sided enclosure made from pallets, hardware cloth, or wire fencing does the job. Some gardeners run two side-by-side bins so they can turn material from one into the other.
Location matters a little
Pick a spot that:
- Gets some sun but not full midday heat all day
- Is reasonably close to where you generate kitchen scraps (you will use it more if it is convenient)
- Has decent drainage underneath so excess water can escape
A pile set directly on bare soil rather than concrete or a paver base also gives worms and soil microbes a two-way path in and out, which speeds up the cold-composting process considerably. If concrete or decking is your only option, a bin with a solid bottom works better than an open pile, since it lets you control moisture more precisely without native soil underneath to buffer extremes.
Moisture and Turning
Getting moisture right
A healthy compost pile should feel like a wrung-out sponge. Both the EPA and Clemson Extension use the same benchmark, damp but not soggy, similar to a wrung-out sponge or rag. When you grab a handful and squeeze, you should get a few drops of water at most. If the pile is bone dry, decomposition slows sharply. If it is soaking wet, the pile goes anaerobic, which creates the rotten-egg smell people associate with compost gone wrong.
In dry weather, water the pile occasionally. In very wet weather, cover it with a tarp or a piece of cardboard.
Turning the pile
Turning introduces oxygen, which feeds the aerobic bacteria doing most of the work. A pile that gets turned regularly decomposes faster and produces finished compost in a few months rather than six to twelve months.
What turning means in practice: use a fork or spade to move material from the outside of the pile toward the center, and from the center toward the outside. You are redistributing both moisture and the microbial activity. Clemson Extension recommends turning weekly with a digging fork or shovel as a baseline for anyone actively managing a pile rather than leaving it alone.
How often you turn depends on how fast you want finished compost:
- Hot composting (fast method): Turn every three to seven days. The pile heats up noticeably, sometimes over 130F at the core, and you can have usable compost in six to twelve weeks.
- Cold composting (slow method): Turn once every few weeks, or just leave it alone. This approach requires almost no effort but takes six months to a year.
Most beginners start with cold composting and then add turning to the routine once they see how it speeds things up.
How Long Does Compost Take?
This is where a lot of beginners get discouraged. There is no single answer. Variables include:
- What you add. Woody materials and whole vegetable scraps take longer than shredded or chopped material. Smaller pieces give microbes more surface area to work with, so chop or shred larger items when you can.
- How often you turn it. See above.
- Temperature and season. Decomposition slows dramatically in cold weather. A pile that is active in summer may almost stop in January.
- The greens-to-browns ratio. A well-balanced pile moves faster than one that is mostly one or the other.
As a rough guide: a cold pile with minimal turning takes 6 to 12 months. An actively managed, regularly turned pile with good balance can produce finished compost in 6 to 12 weeks.
Troubleshooting a Pile That Isn't Working
Most compost problems trace back to one of three things: moisture, ratio, or air. Use this to find the fix fast.
| What you notice | Likely cause | Fix |
|---|---|---|
| Sour or ammonia smell | Too many greens, not enough air | Add a generous layer of browns and turn the pile |
| Rotten-egg smell | Waterlogged, gone anaerobic | Turn thoroughly, mix in dry browns to soak up excess moisture |
| Pile isn't heating up at all | Too small, too dry, or too carbon-heavy | Check size (aim for 3x3x3 ft minimum), moisten, add more greens |
| Decomposition seems stalled | Pieces too large, or too cold outside | Chop or shred material smaller; expect a seasonal slowdown in winter |
| Attracting flies or rodents | Meat, dairy, oils, or exposed food scraps present | Remove offending material, bury fresh scraps under a layer of browns |
| Dry, crumbly on the outside but wet clumps inside | Uneven moisture distribution | Turn the pile to redistribute moisture evenly |
How to Tell When Compost Is Finished
Finished compost looks and smells nothing like what went into it. Here is what you are looking for:
- Color: Dark brown, close to black.
- Texture: Crumbly and uniform. You should not be able to identify individual scraps. If you can still see carrot peels or leaf shapes, it is not done.
- Smell: Earthy. Like forest floor after rain. No sour, ammonia, or rotten smell.
- Temperature: A finished pile no longer heats up after turning. If it heats back up when you add fresh material and turn it, the process is still active.
If parts of your pile are finished and parts are not, sift the finished material through a coarse screen and return the unfinished chunks to the pile to keep breaking down.
Once you have finished compost, spread 1 to 2 inches across the top of your raised beds and work it lightly into the surface, or mix it into the bed when you are setting up a new one. It is an ideal soil amendment to use when filling a raised garden bed or when topping up beds between growing seasons. If you are still in the planning stage for your beds, read through how to build a raised garden bed so you can factor in where the compost pile will sit relative to the beds. The depth of the bed also matters for how much amendment you will need, which is covered in how deep a raised garden bed should be.
Frequently Asked Questions
Can I compost in an apartment or without a yard?
Yes. A small worm bin (vermicomposting) fits under a kitchen counter and processes food scraps efficiently. The worm castings it produces are even richer than standard compost. You can also use a Bokashi system, which ferments food scraps in a sealed container and produces a pre-compost that you then bury in soil.
My compost pile smells bad. What went wrong?
A sour or ammonia smell usually means too many greens and not enough air. Add a generous layer of browns (dried leaves or torn cardboard), turn the pile to introduce oxygen, and check that it is not waterlogged. A rotten smell often means the pile is too wet and has gone anaerobic. Turn it and add dry browns to absorb excess moisture.
Can I add citrus peels and onion scraps?
Yes. The old concern that citrus and onions harm worms is largely overstated for a standard compost pile. They break down fine. If you are using a worm bin specifically, add citrus in smaller amounts since the acidity can stress worms in a confined space.
How do I keep animals out of my compost pile?
The most effective step is to avoid adding meat, dairy, and cooked food. If you use only raw fruit and vegetable scraps along with yard waste, a simple open pile rarely draws serious attention from rodents. If you have persistent problems, switch to a bin with a solid bottom and lid, or use a sturdy wire-mesh enclosure.
Do I need to add a compost activator or starter?
No. Compost activators sold in garden centers are not necessary. The microbes that break down organic material are already present on the materials you add and in the soil at the base of your pile. A handful of finished compost or garden soil stirred into a new pile gives you a quick inoculation if you want to jump-start things, but even that is optional.
How much finished compost will one pile actually produce?
As a rough rule, a pile shrinks to somewhere between a quarter and a half of its original volume once fully broken down, since water evaporates and materials compress as they decompose. A well-managed 3x3x3-foot pile (about 27 cubic feet of raw material) typically yields somewhere around 7 to 13 cubic feet of finished compost, enough to top-dress one or two standard 4x8 raised beds at a 1-inch depth.
Should I shred or chop materials before adding them to the pile?
It helps, especially for anything woody or fibrous like corn stalks, thick stems, or whole cardboard sheets. Smaller pieces give microbes more surface area to colonize, which is the single easiest way to speed up a slow pile without changing anything else about your routine. A quick pass with pruners on stems thicker than a pencil, or running a mower over a pile of leaves before adding them, makes a noticeable difference within the first few weeks.