Planting & Care
How to Start Seeds Indoors: A Step-by-Step Guide
Learn how to start seeds indoors with the right timing, containers, light, and watering habits to grow healthy transplants from scratch.
Starting seeds indoors gives you a head start on the season, saves money compared to buying transplants, and opens up a much wider variety of vegetables than any local nursery will stock. The process is straightforward once you understand what seeds actually need: warmth to germinate, strong light afterward, consistent moisture, and a little patience.
When to Start Seeds Indoors
Timing is everything. Start too early and your seedlings outgrow their containers before the garden is ready. Start too late and you lose the advantage of growing indoors in the first place.
The anchor date you need is your last expected frost date. If you don't know yours, enter your zip code at any regional planting calendar or check the USDA hardiness map, most county extension offices also publish local frost dates.
Here's a quick reference for common vegetables:
| Crop | Weeks Before Last Frost to Start Indoors |
|---|---|
| Tomatoes | 6–8 weeks |
| Peppers | 8–10 weeks |
| Eggplant | 8–10 weeks |
| Broccoli | 4–6 weeks |
| Cabbage | 4–6 weeks |
| Cauliflower | 4–6 weeks |
| Lettuce | 4–6 weeks |
| Celery | 10–12 weeks |
| Basil | 4–6 weeks |
| Onions (from seed) | 10–12 weeks |
Crops like cucumbers, squash, and beans generally do better direct-sown outside, their roots dislike disturbance, and they grow so fast that starting them indoors offers little benefit. If you're unsure about a crop, seeds vs. seedlings breaks down which vegetables are worth starting yourself and which are better purchased as transplants.
What You Need to Get Started
You don't need specialty equipment to grow transplants, but a few basics make the difference between spindly, struggling plants and stocky ones ready to perform in the garden.
Containers
Almost any small container works as long as it has drainage holes. Plastic cell trays (the kind sold as "72-cell" or "128-cell" flats) are cheap, reusable, and sized appropriately for most vegetables. Peat pots, coir pellets, and soil blocks are alternatives worth considering if you want to minimize root disturbance at transplant time.
Repurposed yogurt cups, deli containers, or egg cartons are fine for a small batch, just poke holes in the bottom. Wash any reused containers with a dilute bleach solution (1 part bleach to 9 parts water) before planting to kill pathogens that cause damping off (more on that below).
Seed-Starting Mix
Do not use garden soil or standard potting mix. Both are too dense for delicate seedling roots and can harbor disease. Buy a bag labeled "seed-starting mix" or "seed-starting medium." These are fine-textured, lightweight, and typically low in nutrients by design, seeds carry enough energy to germinate on their own, and heavy fertilizer at this stage can burn young roots.
Moisten the mix before filling containers. It should feel like a wrung-out sponge: damp throughout, not soggy, with no dry clumps.
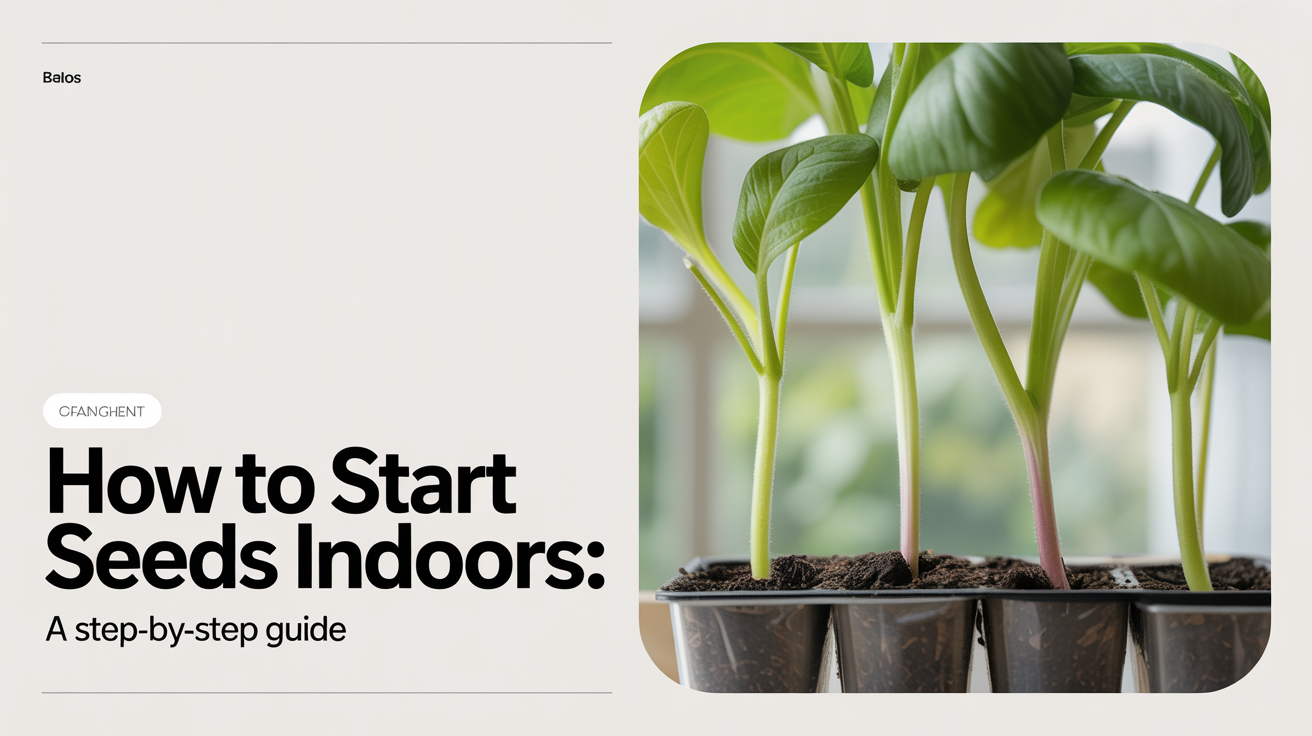
Planting the Seeds
Fill containers to about half an inch below the rim. Press the mix lightly to eliminate air pockets, then make a small indentation or furrow at the depth listed on the seed packet. A common rule of thumb is to plant at a depth equal to two to three times the diameter of the seed, but the packet instruction takes priority.
Drop one or two seeds per cell. You'll thin to one seedling later, so don't worry about wasting a few seeds. Cover, press gently, and label everything immediately, seedlings look remarkably similar before their true leaves appear, and you will forget what you planted where.
Water from the top gently to settle the seeds, then cover the tray with a humidity dome or a sheet of plastic wrap. This keeps moisture in during germination. Move the tray somewhere warm: most vegetable seeds germinate fastest at 65–75°F (18–24°C). The top of a refrigerator, a dedicated seedling heat mat, or a warm spot near a water heater all work.
Check daily. The moment you see the first sprout poking up, remove the cover and move the tray under light right away. Leaving a dome on after germination invites mold.
Light: The Part Most Beginners Get Wrong
Here's the reality: a sunny south-facing windowsill is almost never enough.
Even a window that gets direct sunlight for six hours a day delivers far less light than what outdoor conditions provide. Seedlings respond to weak light by stretching toward the source, producing the tall, floppy stems that gardeners call "leggy." Leggy seedlings are weak and prone to flopping over; they rarely catch up to stocky ones grown under adequate light.
A simple shop light, the kind sold for garage ceilings, fitted with two LED T8 bulbs (look for "cool white" or "full-spectrum") suspended two to four inches above the tops of your seedlings does the job well. Raise the light as plants grow to maintain that distance. Run it for 14 to 16 hours per day on a timer; don't try to remember to turn it on and off yourself.
Dedicated grow lights work too, but they cost more than a basic shop light setup. If you're starting seeds for the first time with a small tray, a $25 shop light is a perfectly adequate starting point.
What Windowsill Growing Looks Like (Honestly)
If you do use a windowsill, choose the brightest south-facing window you have, rotate trays a quarter turn daily to keep plants from leaning, and accept that your seedlings will likely be a bit stretched. Burying the stems deeply at transplant time (tomatoes tolerate this especially well) helps compensate. But for reliable, consistent results, supplemental light is worth the minor investment.
Watering Seedlings the Right Way
Overwatering kills more seedlings than underwatering. The goal is consistently moist, never saturated, never bone dry.
Bottom-watering is the best approach for seedling trays. Set the tray inside a shallow container filled with an inch or two of water and let the growing medium absorb moisture from below for 20 to 30 minutes. Then remove the tray and let it drain. This encourages roots to grow downward and keeps the surface of the mix drier, which discourages fungal problems.
If you water from the top, use a watering can with a fine rose head or a spray bottle. Never pour water directly from a cup, the force dislodges seeds and crushes tiny seedlings.
Check moisture by pressing your finger into the mix to the first knuckle. If it feels damp, hold off. If it's dry, water.
Thinning Seedlings
Once true leaves appear (the second set of leaves, which look more like the adult plant), thin each cell down to a single seedling. If you planted two seeds per cell and both germinated, snip one at soil level with scissors. Don't pull, pulling can disturb the roots of the seedling you're keeping.
Thinning feels wasteful at first, but crowded seedlings compete for light and nutrients and are more susceptible to disease. A single strong plant per cell will outperform two weak ones every time.
Damping Off: What It Is and How to Prevent It
Damping off is a fungal condition that causes seedlings to collapse at the soil line, seemingly overnight. It's one of the most discouraging things that can happen to a new seed-starter. The stems look pinched or water-soaked at the base, and the plant tips over and dies.
It's caused by several soil-borne fungi (Pythium, Fusarium, and Rhizoctonia are the main offenders) and is almost always triggered by a combination of excess moisture, poor air circulation, and crowded conditions.
Prevent it by:
- Using fresh, sterile seed-starting mix (not garden soil)
- Bottom-watering so the surface stays relatively dry
- Running a small fan on low to keep air moving around seedlings
- Not overcrowding trays
- Washing reused containers before planting
There's no effective treatment once damping off starts, affected seedlings can't be saved. Pull and discard them, improve conditions, and start fresh if it spreads.
Fertilizing Seedlings
Seed-starting mix has little to no fertilizer in it by design. Once seedlings develop their first set of true leaves, they've used up the energy stored in the seed and need nutrients from an outside source.
Start fertilizing weekly with a half-strength liquid fertilizer, fish emulsion, balanced liquid kelp, or any diluted liquid vegetable fertilizer works. Full-strength fertilizer at this stage can burn roots. As plants grow and develop more leaves, you can increase to the full recommended dose.
Getting Seedlings Ready to Go Outside
Before transplanting into the garden, seedlings need a transition period called hardening off. Moving plants directly from a warm, sheltered indoor environment into variable outdoor conditions (wind, temperature swings, direct sun) shocks them and sets growth back by weeks.
Hardening off means gradually exposing seedlings to outdoor conditions over 7 to 14 days, starting with an hour or two of filtered shade outdoors, then increasing time and sun exposure each day. How to harden off seedlings before transplanting walks through the full process step by step.
Once in the ground, watering consistently is one of the most important factors in early plant establishment. How often to water a vegetable garden covers how to read your soil and your plants so you're not guessing.
Frequently Asked Questions
Can I reuse last year's seed-starting trays?
Yes, but wash them first. Soak used trays in a solution of one part household bleach to nine parts water for 10 minutes, scrub, rinse thoroughly, and let them dry. This kills pathogens that linger from the previous season and reduces damping-off risk.
What temperature do seeds need to germinate?
Most vegetable seeds germinate best between 65°F and 80°F (18–27°C). Peppers and eggplant prefer the warmer end of that range (75–85°F). Cool-season crops like lettuce and broccoli germinate reliably in the 60–70°F range. A seedling heat mat set under the tray helps maintain consistent warmth, especially in a cool basement or garage.
My seedlings are tall and floppy. What went wrong?
Legginess almost always means insufficient light. Move them under a grow light or shop light positioned two to four inches above the tops of the plants. Leaning toward a window is a sign plants are chasing light they're not getting enough of. A small fan improving air circulation also helps stems develop strength, gentle movement triggers a slight thickening response in young stems.
Do I need to fertilize seeds right after planting?
No. Seeds contain all the energy needed to germinate. Adding fertilizer before the first true leaves appear is unnecessary and can harm germination. Start a diluted liquid fertilizer schedule once true leaves are visible, typically one to two weeks after germination.
How do I know when seedlings are ready to transplant?
Look for two to four sets of true leaves, a stem that's sturdy enough to stand on its own, and a root system that holds the growing medium together when you pop the seedling out of its cell. Timing also depends on outdoor temperatures: wait until nighttime lows are consistently above the crop's minimum tolerance, and complete a hardening-off period first.